Rediscovering the Power of the Serial Console: Configuring a TP-Link Managed 10GBE Switch for Your HomeLab
Using the often overlooked serial console to configure a 10 Gbps managed switch.
In the fast-paced world of cutting-edge technology, we often overlook the significance of older, tried-and-true methods. Serial communication, once the lifeline of early computers and network equipment, might seem like a relic of the past.
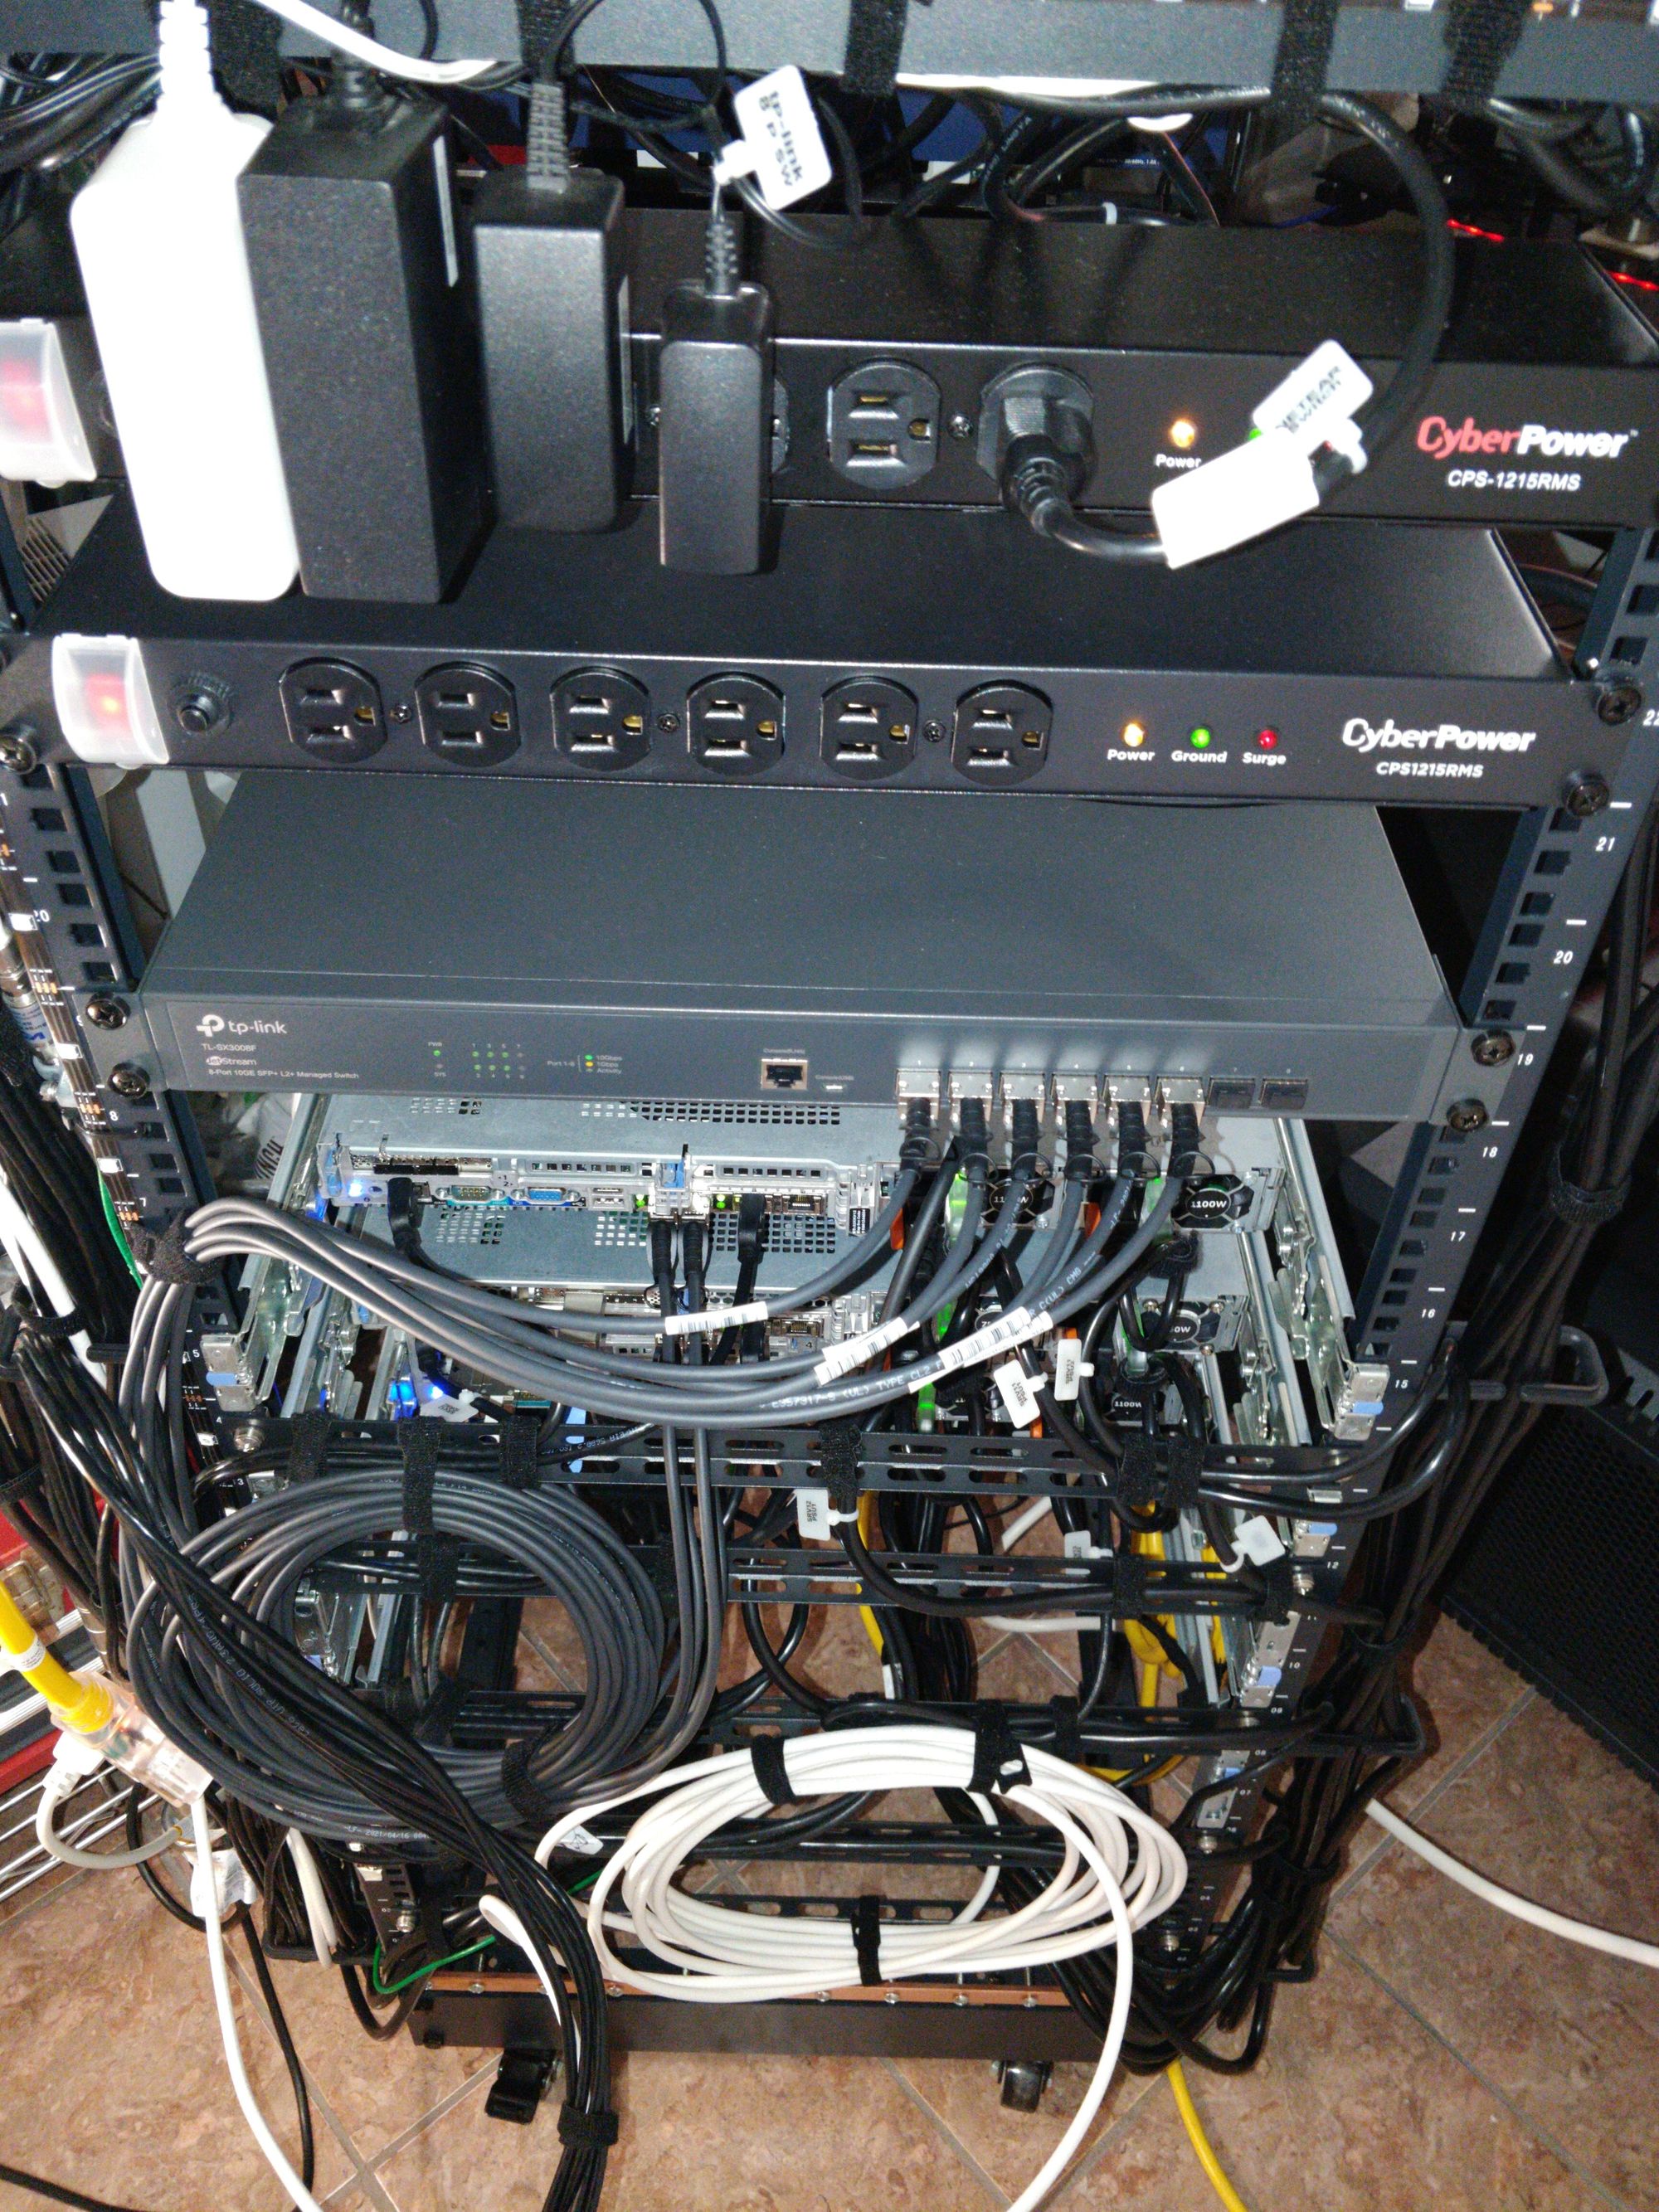
Imagine this: You've just acquired a brand-new TP-Link 10GBE switch to turbocharge your HomeLab virtualization network. It's a beast of a device, capable of handling lightning-fast data transfers needed to run virtual machines from your NFS server, and you're eager to set it up.
You connect the switch power it on and then, no connection. You check the cables, the network cards, try a media converter, and still no connection. The documentation offers no help either.
Searching online, a lone post in a forum lets you know the problem. The switch, by default, sets all ports hard-coded to 10 gigabits per second, with no auto-negotiation.
To configure the switch you need a dedicated 10 gigabits connection to it from your computer. The problem: you did not know this and only bought 10 gigabit server hardware. You have no way to connect the laptop to the switch to configure it.
You don't need to imagine it anymore because it's what happened to me.
Solution
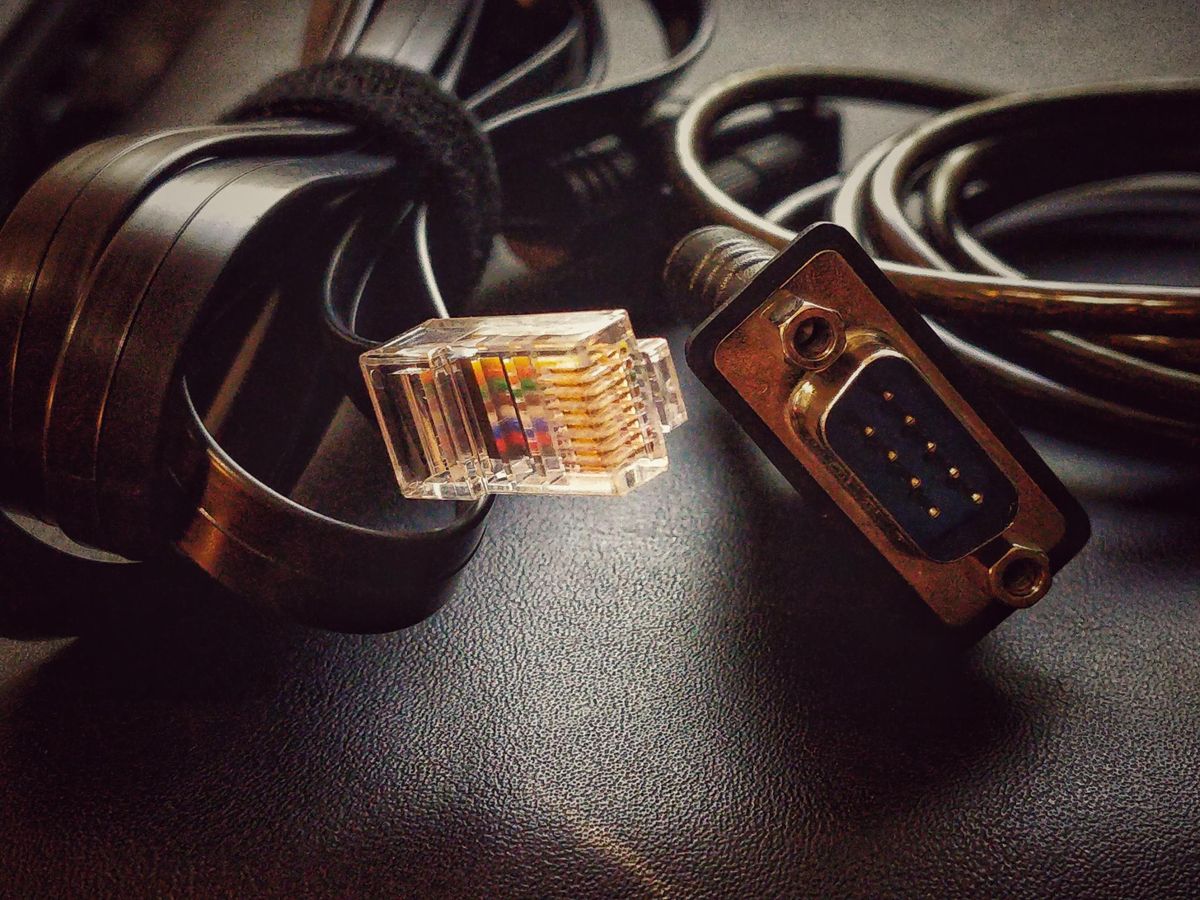
The TP-Link switch being managed has console access. It includes a serial and a USB port. The USB port would connect and disconnect instantly, never managed to gain console access with it. After that, there was one only solution: dust off the old, reliable, serial cable.

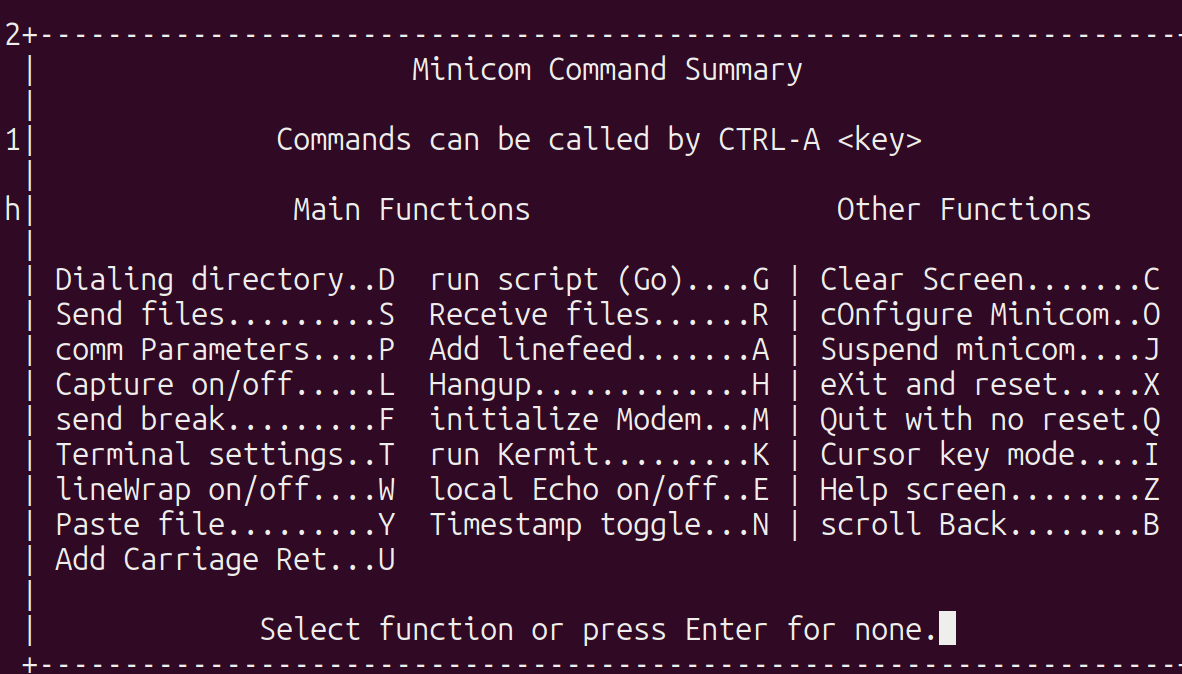
My serial terminal emulator of choice is Minicom. It is available for most distributions and installs quickly.
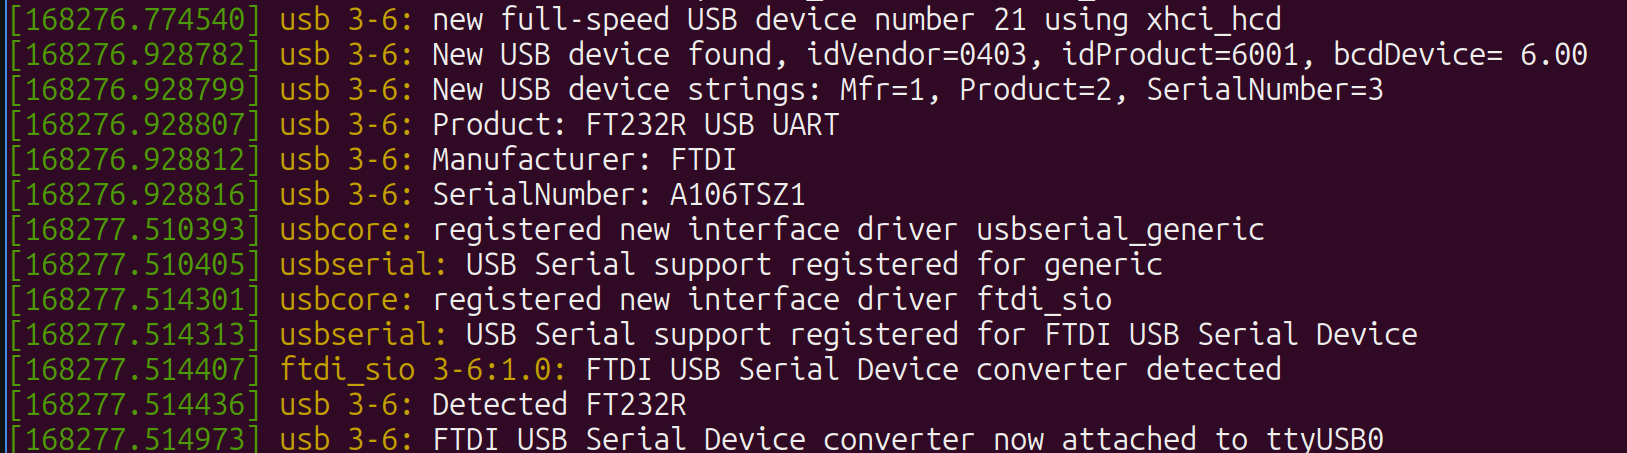
sudo apt-get install minicomWith the serial console cable attached and detected as ttyUSB0, it was just a matter of starting Minicom and connect to that serial port like the good old days of dial-up Bulletin Board System.
sudo minicom -D /dev/ttyUSB0
The TP-Link console works at 38400 bits per second, and a typical 8-n-1 configuration (eight (8) data bits, no (N) parity bit, one (1) stop bit)

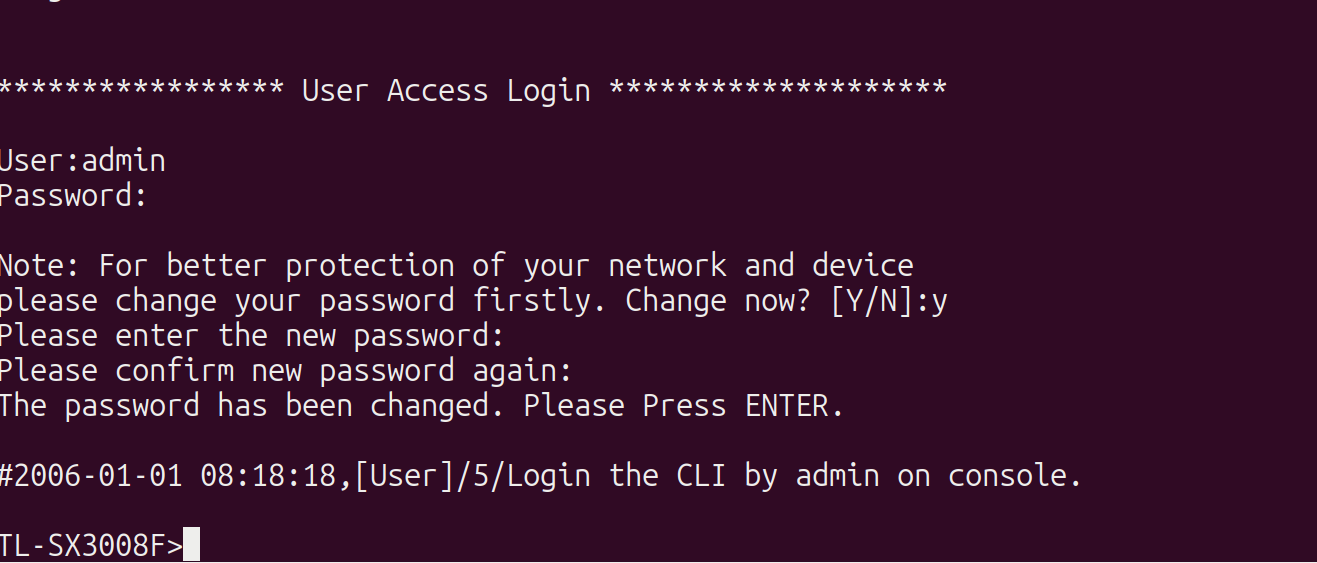
With the communication parameters setup complete, the switch console is finally accessible.
Configuring the switch
To configure the switch, we first need to enter into administration mode. This is done with the enable command.
enable
As administator, we now have access to the ports configuration, admin interface, and VLAN setup.
The configuration goals for the switch are:
- Create a management VLAN with ID 1000.
- Set the admin interface to the IP address 192.168.0.2
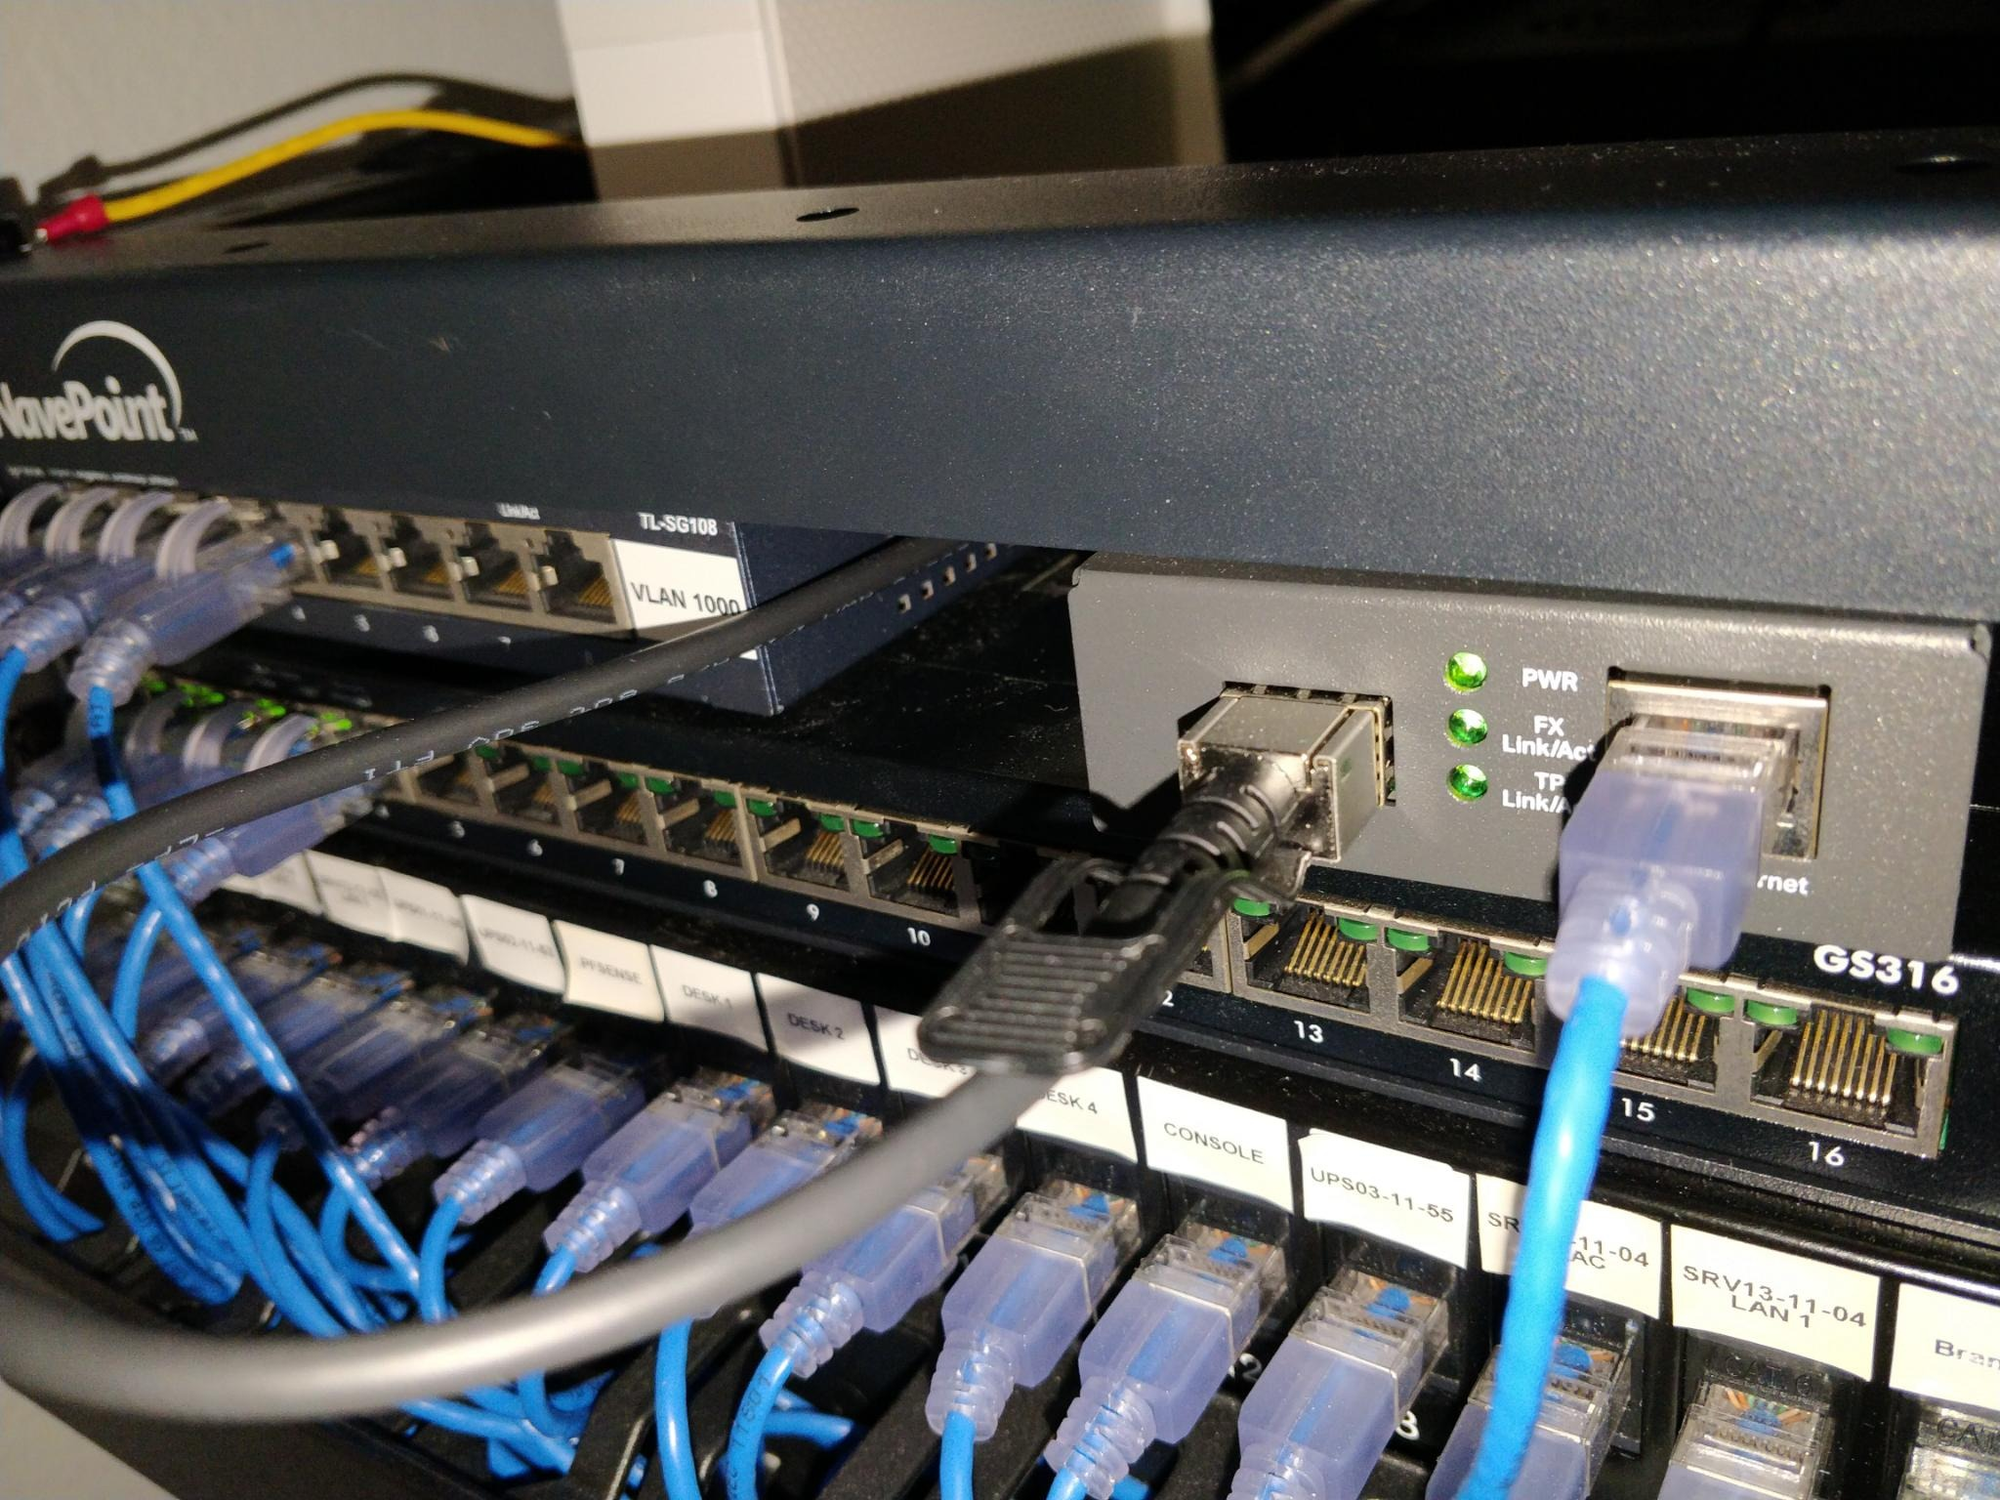
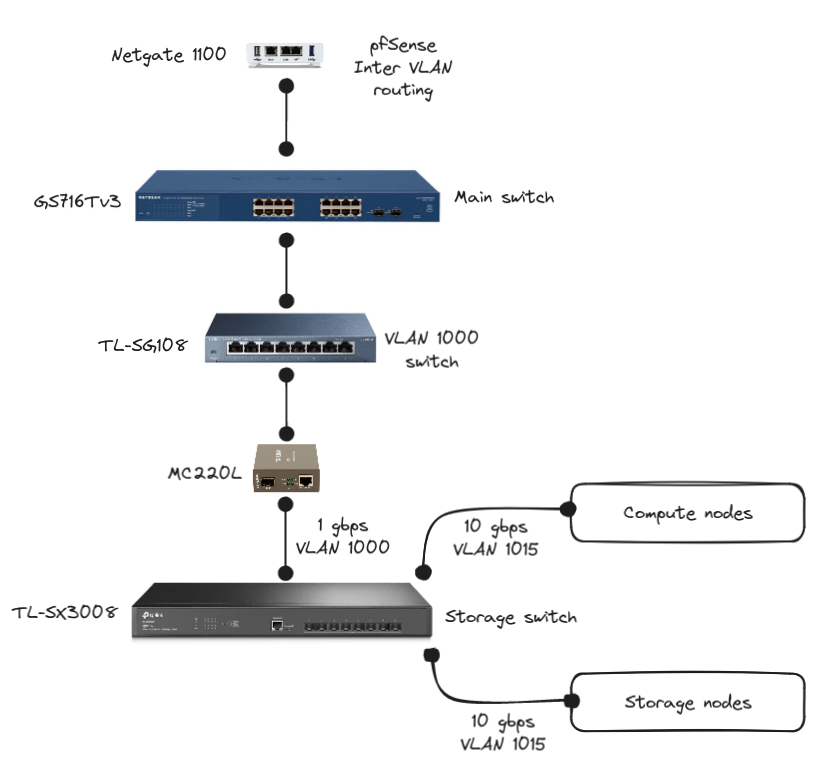
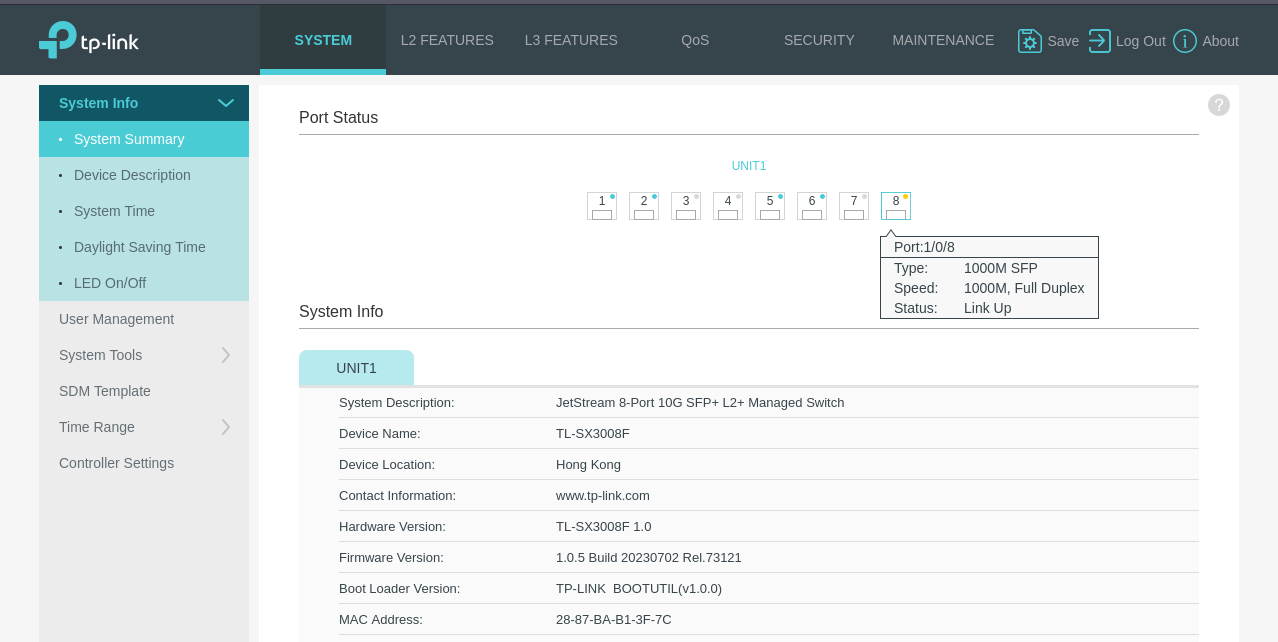
- Set the speed of port #8 to 1 gigabit so that it can be bridged with the HomeLab core switch.
Current setup
The switch admin interface defaults set to the IP address 192.168.0.1, VLAN 1. This IP address is already assigned to another device and needs to be changed.

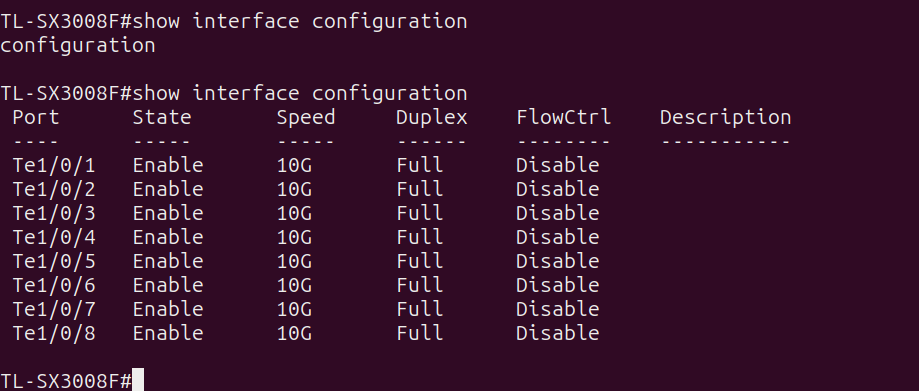
The switch ports are confirmed to be hard-coded to communicate at 10 Gbps only.
Port speed
The first step is to lower the speed of the bridge port to 1 gigabit to allow it to connect to the media converter.
configure
interface ten-gigabitEthernet 1/0/8
speed 1000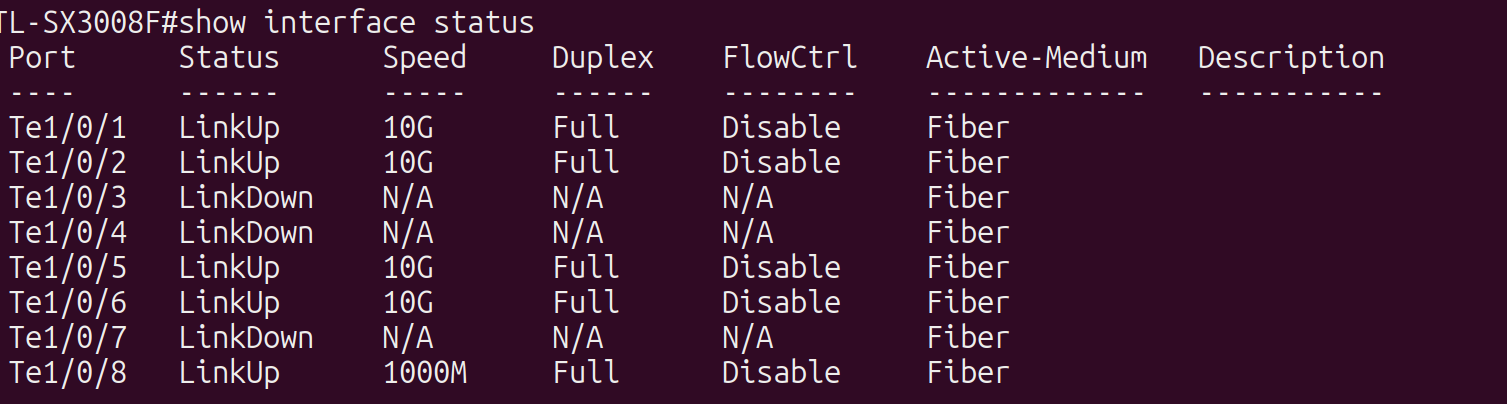
Admin interface
The next step is to set the admin interface to the proper management VLAN of the HomeLab (1000) and the proper IP address for its range (192.168.0.2).
interface vlan 1000
ip address 192.168.0.2 255.255.255.0
interface ten-gigabitEthernet 1/0/8
switchport general allowed vlan 1000 tagged
Now the management interface is disconnected from VLAN 1.
interface vlan 1
no ip address
Jumbo frames
Since this switch will be doing only 10 gigabit NFS connections, it makes to take advantage of the situation and turn on Jumbo frames. Jumbo frames increase the efficiency of the network by reducing processing overhead and making better use of the extra bandwidth.
jumbo-size 9216Save configuration
The final step is to make the configuration changes permanent otherwise a restart will reset the switch to its default settings. Managed switches tend to have multiple configuration "slots". My case does not merit having different configurations so the current configuration is saved in both slots available.
copy running-config backup-config
copy running-config startup-config
With everything fully configured the TP-Link switch is now part of the HomeLab doing its dedicated job while still accessible for management via the main switch.
Completing the configuration process rekindled my appreciation for the serial console. In a world obsessed with the latest and greatest technology, it's a comforting reminder that sometimes older methods still have a crucial role to play.
So, the next time you find yourself configuring a managed switch or any smart network equipment, consider giving the serial console a try. It's your trusty companion for troubleshooting, initial setups, and those moments when you need direct access to your device. It just might become your secret weapon for network mastery.